Banana pudding with vanilla wafers is a classic Southern dessert that brings nostalgic memories of family gatherings and sunny afternoons. Merging the rich, velvety taste of banana pudding alongside the delightful crunch of vanilla wafers creates a perfect harmony of textures and flavors. Whether you’re a seasoned baker or a kitchen newbie, this no-cook banana pudding recipe is incredibly easy to make and guarantees a crowd-pleasing treat.
— ✦ —
Top Reasons to Fall in Love with This Recipe
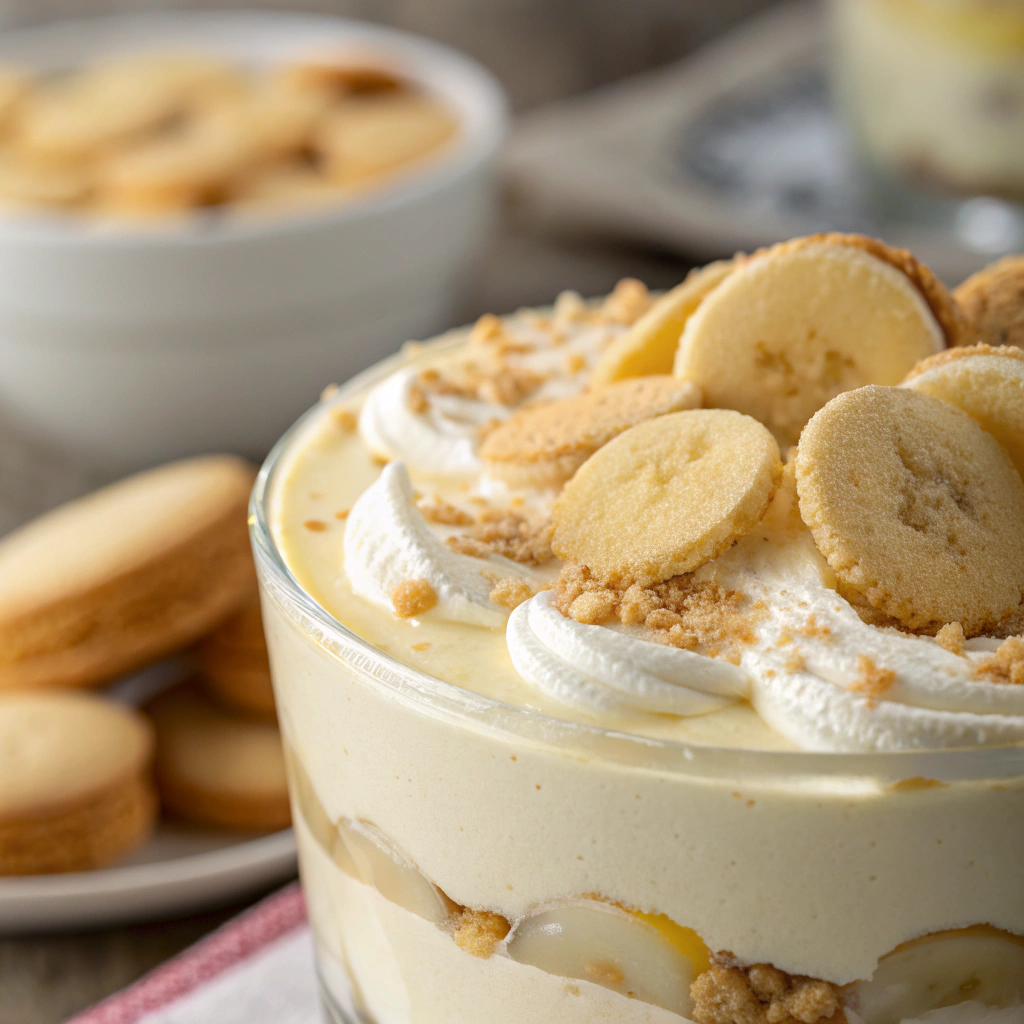
If you’ve ever indulged in banana pudding with vanilla wafers, you know why it’s a beloved dessert. Firstly, its no-cook nature makes it accessible for everyone. You don’t need to be a master chef to whip up this delightful treat. Secondly, the layers of creamy pudding, fresh banana slices, and crunchy wafers create a satisfying texture that keeps you coming back for more. Additionally, this recipe is versatile—perfect for potlucks, family gatherings, or a simple weeknight dessert. The interplay between sugary notes and the gentle touch of vanilla renders it universally beloved.
— ✦ —
Ingredients
To make this delicious banana pudding with vanilla wafers, you’ll need the following:
- 2 cups cold milk
- 1 package (3.4 oz) instant vanilla pudding mix
- 1 can (14 oz) sweetened condensed milk
- 1 teaspoon vanilla extract
- 2 cups frozen whipped topping, thawed
- 4-5 ripe bananas, sliced
- 1 box (12 oz) vanilla wafers
Alternatives
If you’re looking to tweak the classic recipe, there are several alternatives you can consider. To create a slimmer alternative, opt for skim milk or a dairy-free alternative like almond milk. Another option is to replace the sweetened condensed milk with a homemade sweetener to reduce sugar content. Additionally, gluten-free vanilla wafers are available for those with dietary restrictions, ensuring everyone can enjoy this delightful dessert.
— ✦ —
Step-by-Step Instructions
Preparing the Pudding Base
Start by whisking together the cold milk and instant vanilla pudding mix in a spacious bowl. Continue whisking for about 2 minutes until the mixture thickens. This is the foundation that gives the banana pudding its creamy texture. Subsequently, mix in the sweetened condensed milk along with the vanilla extract, stirring until everything is well combined and smooth.
Slicing and Preparing the Bananas
While your pudding base is forming, carefully slice the ripe bananas into thin, even pieces. To keep the banana slices from oxidizing, you might toss them lightly in a mixture of lemon juice and a bit of sugar. This not only preserves their color but also adds a subtle tang that complements the sweet pudding.
Layering Vanilla Wafers with Pudding
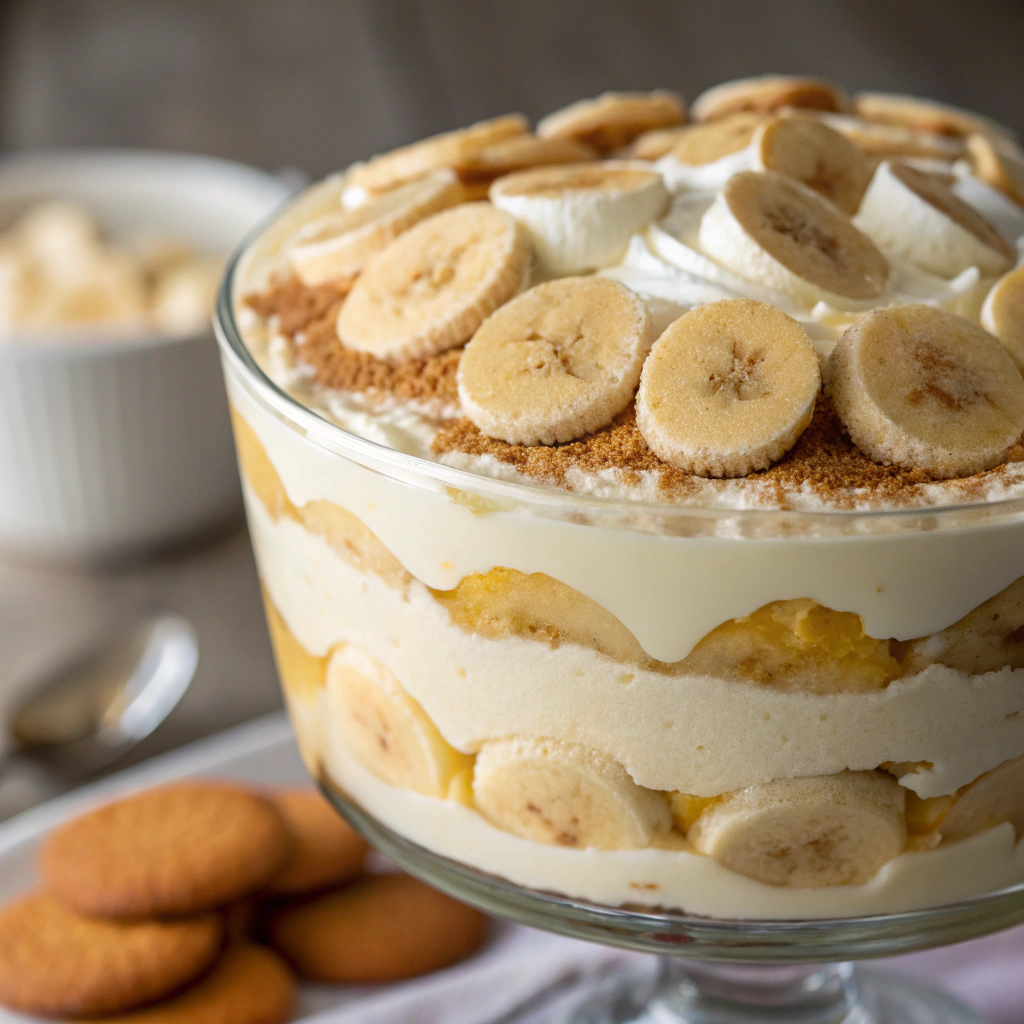
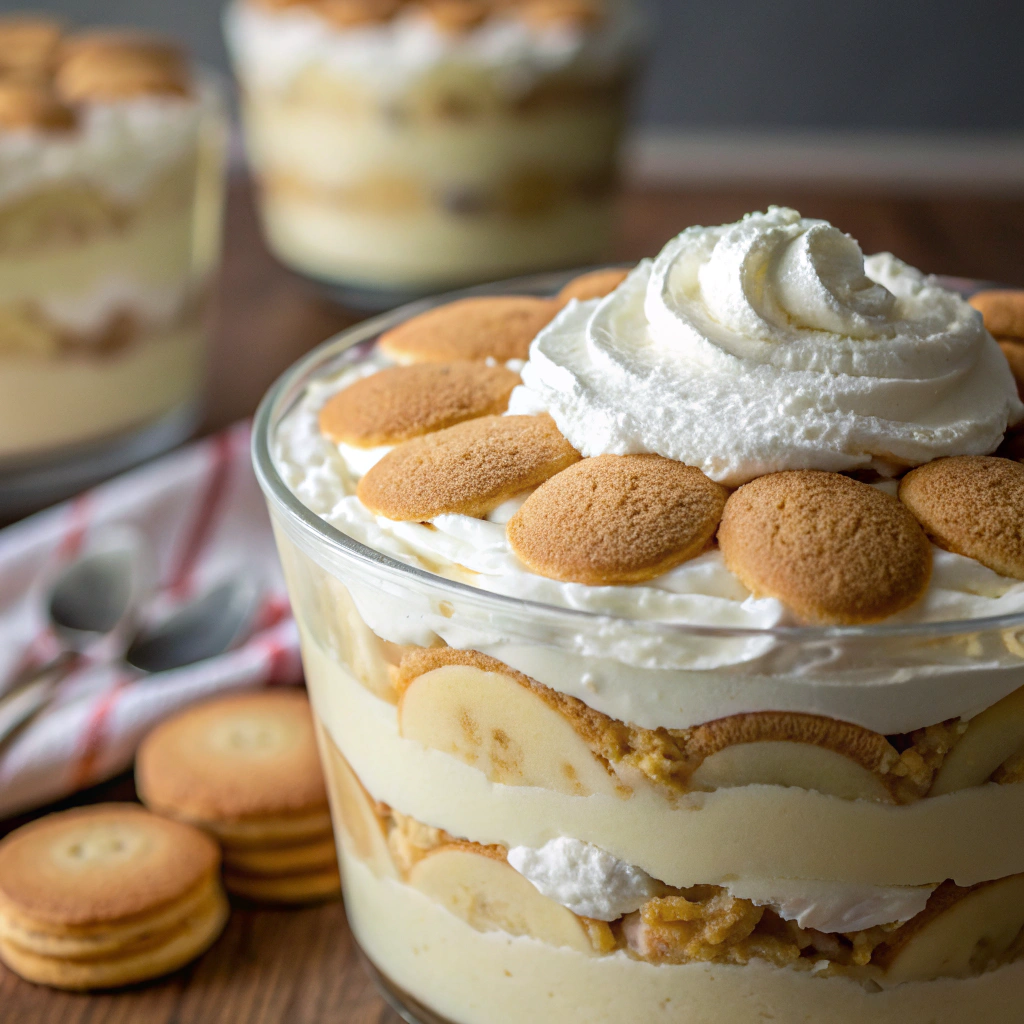
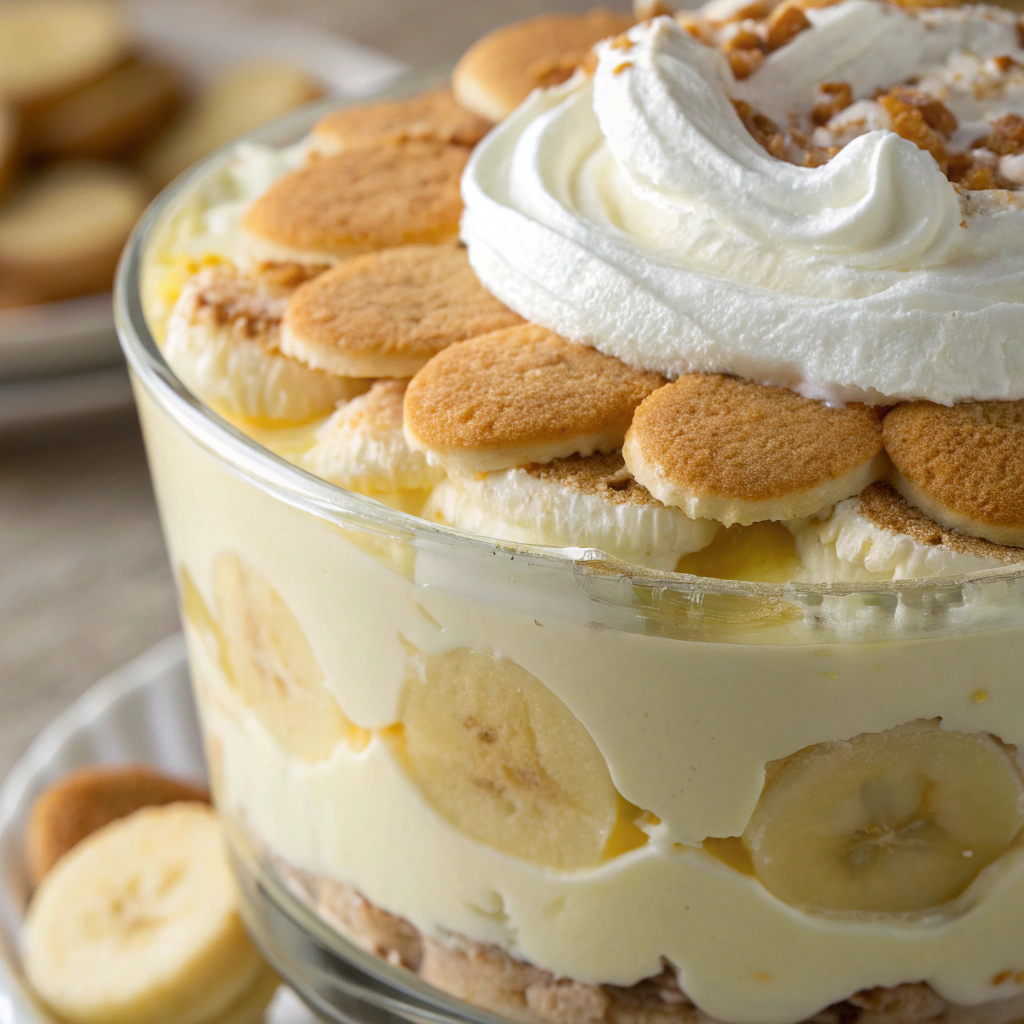
Begin assembling your banana pudding by placing a base layer of vanilla wafers at the foundation of your serving dish. Proceed by adding a thick layer of the prepared pudding base, ensuring it’s spread evenly. Next, incorporate a layer of finely sliced bananas. Repeat these layers until all components are used up, typically ending with a pudding layer on top.
Adding the Frozen Whipped Topping
Once all the pudding and banana layers are in place, gently fold the thawed whipped topping into the pudding mixture. This step adds an airy lightness to the dessert, making each bite wonderfully fluffy. Spread the whipped mixture over the top layer, smoothing it out for an even finish.
Final Touches Before Chilling
To complete your banana pudding, add a final layer of vanilla wafers on top for a delightful crunch. For an extra touch, you can sprinkle some crushed wafers or a subtle sprinkle of cocoa over the surface. Seal the container securely with plastic wrap and refrigerate for at least four hours, or overnight if possible. This chilling step is crucial as it enables the flavors to blend together while softening the wafers just enough without becoming soggy.
— ✦ —
Common Mistakes to Avoid
Overmixing the pudding mixture
Stirring excessively may compromise the integrity of the pudding, leading to a runny consistency. It’s important to whisk just until the pudding thickens and all ingredients are combined to maintain that perfect creamy texture.
Using warm ingredients leading to texture issues
Ensure all ingredients, especially the milk and whipped topping, are cold. Warm ingredients can cause the pudding to set improperly, resulting in an undesirable texture.
Not properly layering the wafers and bananas
Proper layering is essential to balance of flavors and textures. Skipping proper layers may lead to uneven distribution of ingredients, making some bites too sweet or too banana-heavy.
Skipping the chilling step, affecting consistency
Refrigerating gives the flavors a chance to intermingle and the wafers to soften just enough. Skipping this step can result in a pudding that’s too stiff or the wafers remaining too crunchy.
— ✦ —
Expert Tips & Tricks
Perfecting the Creamy Texture
For an extra creamy banana pudding, use full-fat milk and whipped topping. This enhances the richness and smoothness of the dessert, making each spoonful a delightful experience.
Ensuring Even Layer Distribution
Use a large, clear glass dish to layer your pudding. This not only helps in maintaining even layers but also adds an appealing visual element, allowing everyone to see the beautiful layers of pudding, bananas, and wafers.
Enhancing Flavor with Vanilla Extract
Don’t skimp on the vanilla extract. A good quality vanilla extract will elevate the overall flavor, adding depth and a subtle aromatic hint that complements the sweetness of the pudding.
Decorating with Crushed Vanilla Wafers
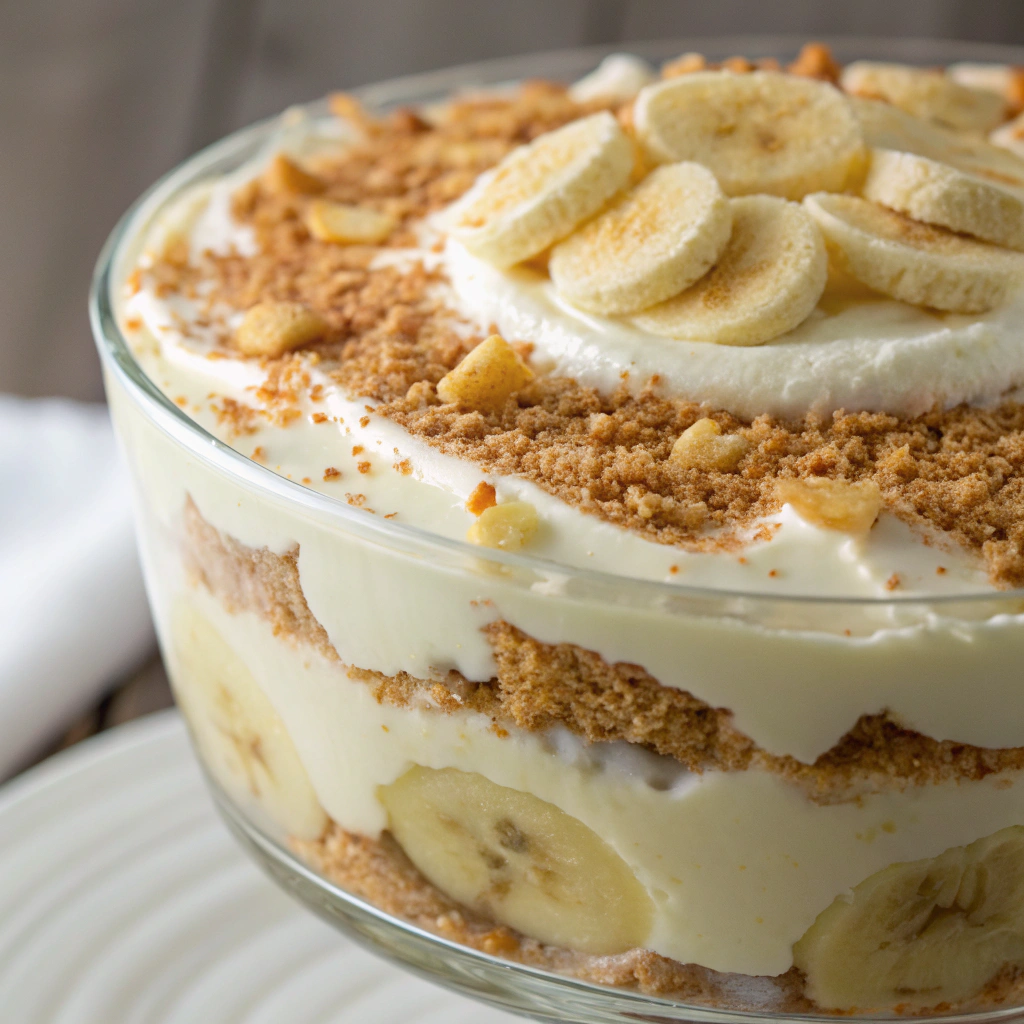
For a beautiful presentation, crush some vanilla wafers and sprinkle them on top before serving. Introducing an additional layer of texture and a satisfying crispness that beautifully contrasts with the creamy pudding.
— ✦ —
Serving Suggestions
Garnishing with Fresh Banana Slices
Fresh banana slices on top enhance both the appearance and flavor of the dessert. They contribute innate sweetness and a lively hue that makes the pudding even more enticing.
Serving in Individual Cups for Presentation
For a more elegant presentation, consider serving the banana pudding in individual cups or parfait glasses. This not only looks sophisticated but also makes serving easier at gatherings.
Adding a Dusting of Cocoa or Cinnamon
A subtle sprinkle of cocoa powder or cinnamon above can add a hint of bitterness that balances the sweetness of the pudding, enhancing the overall flavor profile.
Accompanying Each Serving with a Dollop of Vanilla Ice Cream
For an indulgent twist, serve a scoop of vanilla ice cream alongside a portion of banana pudding. The cold ice cream complements the creamy texture of the pudding, making for a heavenly dessert combination.
— ✦ —
Decorating Banana Pudding with Vanilla Wafers
Creative Topping Ideas for Banana Pudding with Vanilla Wafers
Get creative with your toppings! Consider adding chocolate shavings, caramel drizzle, or a sprinkle of toasted nuts to elevate your banana pudding. These extras can introduce fresh tastes and consistencies, making each serving unique and exciting.
Using Fresh Bananas to Enhance Banana Pudding with Vanilla Wafers
Incorporate fresh banana slices on top of your pudding to infuse an additional explosion of taste and a visually appealing garnish. Fresh bananas not only add to the taste but also make the dessert look more vibrant and appetizing.
Incorporating Edible Flowers in Banana Pudding with Vanilla Wafers
For a touch of elegance, decorate your banana pudding with edible flowers. This adds a beautiful, natural element to your dessert, making it perfect for special occasions and gatherings.
Layering Techniques for Visual Appeal in Banana Pudding with Vanilla Wafers
Pay attention to how you layer your ingredients. Create distinct, even layers of pudding, bananas, and wafers to ensure each bite is perfectly balanced and visually stunning.
— ✦ —
Storage Recommendations
Best Before Timeframe
Store your banana pudding in the refrigerator and consume it within 3-4 days for the best flavor and texture. Proper storage ensures that the pudding remains fresh and delicious.
Storing Techniques
Keep the banana pudding covered tightly with plastic wrap or a sealed lid to keep it from taking in any refrigerator smells. This also helps maintain the moisture and consistency of the pudding.
— ✦ —
Healthier Alternatives for Banana Pudding with Vanilla Wafers
Using Low-Fat Milk Options for Banana Pudding with Vanilla Wafers
Substitute regular milk with low-fat or skim milk to lower the calorie count while maintaining taste. This lighter version is perfect for those looking to enjoy their dessert with fewer calories.
Substituting Sweeteners in Banana Pudding with Vanilla Wafers
Use natural sweeteners like honey or maple syrup instead of sweetened condensed milk to lower the sugar content. This makes the recipe a bit healthier while still maintaining its sweet appeal.
Incorporating Fresh Fruits in Banana Pudding with Vanilla Wafers
Include an assortment of fresh fruits such as strawberries, blueberries, or mangoes to enhance the nutritional value and add different flavors to your banana pudding. This not only makes the dessert more colorful but also more nutritious.
Choosing Gluten-Free Vanilla Wafers for Banana Pudding with Vanilla Wafers
Opt for gluten-free vanilla wafers to accommodate dietary restrictions. This ensures that everyone, including those with gluten sensitivities, can enjoy this delicious dessert.
— ✦ —
Recipe Troubleshooting
Sometimes, even with the best intentions, things might not go as planned. Here are some common issues you might encounter while making banana pudding with vanilla wafers and how to fix them:
The pudding is too runny
If your pudding turns out too liquid, it might be because it wasn’t whisked long enough or the mixture didn’t have enough time to set. Ensure you whisk the pudding thoroughly until it thickens and allow sufficient chilling time.
The wafers are too soggy
To prevent wafers from becoming overly soggy, assemble the pudding shortly before serving. Alternatively, add a thicker layer of pudding between the wafer layers to create a barrier.
The banana slices are too mushy
Using overly ripe bananas can result in mushy slices. Choose bananas that are ripe yet retain firmness. Additionally, adding lemon juice can help maintain their texture.
The layers are uneven
To achieve even layers, use measuring cups or a spoon to distribute the pudding and bananas uniformly. Leveling each layer before adding the next can also help maintain consistency.
— ✦ —
Variations
Adding Chocolate Chips for Extra Flavor
Mix in some chocolate chips into the pudding layers for a rich, chocolatey twist. This twist introduces complexity and a touch of bitterness that enhances the bananas’ sweetness.
Incorporating Coconut Flakes for Texture
Sprinkle toasted coconut flakes between the layers to introduce a delightful crunch and a tropical flavor that pairs wonderfully with the creamy pudding.
Using Different Types of Wafers
Experiment with different wafer varieties like chocolate or caramel-flavored wafers to create unique flavor profiles. This can add a new dimension to the traditional banana pudding taste.
Mixing in Caramel Sauce for Richness
Drizzle caramel sauce into the layers for an extra layer of sweetness and richness. This addition enhances the overall flavor and adds a luscious, gooey texture that elevates the dessert.
— ✦ —
Preparing Banana Pudding with Vanilla Wafers for Large Gatherings
Scaling the Recipe for Banana Pudding with Vanilla Wafers
To accommodate large gatherings, simply multiply the ingredients as needed. Ensure you have a large enough serving dish or multiple dishes to layer all the ingredients adequately.
Best Dishware for Serving Banana Pudding with Vanilla Wafers
Use clear glass or ceramic dishes to showcase the beautiful layers of your pudding. Large trifle bowls or several individual dessert glasses work well for both presentation and ease of serving.
Presentation Ideas for Banana Pudding with Vanilla Wafers
Enhance the visual appeal by garnishing with decorative wafers, fresh fruit slices, or a sprig of mint. A well-presented pudding is more enticing and adds to the enjoyment of the dessert.
Transporting Banana Pudding with Vanilla Wafers Safely
If you’re bringing your pudding to a gathering, ensure it’s tightly covered and kept chilled during transport. Use sturdy containers to prevent any spills or mix-ups during the journey.
— ✦ —
Wrap-Up
Banana pudding with vanilla wafers is an effortless yet impressive dessert that’s sure to delight any crowd. Its simplicity allows the natural flavors of bananas and vanilla to shine through, while the vanilla wafers add that essential crunch. Whether you’re hosting a large gathering or enjoying a sweet treat with your family, this recipe is a wonderful choice. We’d love to hear about your experiences—share your photos and let us know how your banana pudding turned out!
— ✦ —
For more delightful recipes, check out our microwave chocolate pudding cake recipe that’s great for any craving.
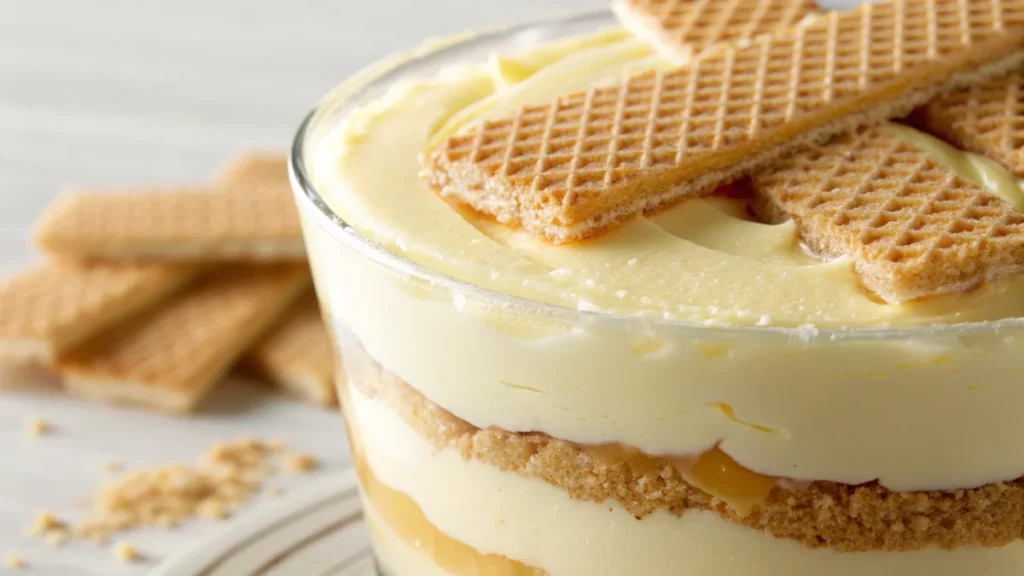
Banana Pudding With Vanilla Wafers
Ingredients
Instructions
- Whisk the cold milk and instant vanilla pudding mix together in a large bowl until thickened.
- Stir in the sweetened condensed milk and vanilla extract until smooth.
- Fold the thawed whipped topping into the pudding mixture gently.
- Slice the bananas and layer them in a clear serving dish.
- Place a layer of vanilla wafers at the bottom of the dish.
- Spread a layer of the pudding mixture over the wafers.
- Add a layer of banana slices on top of the pudding.
- Repeat the layering process until all ingredients are used, ending with a pudding layer.
- Top with additional crushed vanilla wafers for garnish.
- Cover and refrigerate for at least four hours or overnight before serving.


